Replacing and Sourcing Lava Lamp Wax Compounds
Identifying the Wax Compound in Your Lamp
Before attempting any replacement, identify what type of wax is already in the globe. Lava lamp wax is not a single material. Most vintage and Mathmos-era lamps use a translucent paraffin-based compound, often blended with a small proportion of a denser wax — commonly microcrystalline wax — to adjust buoyancy. The ratio of these two components determines how the wax behaves at operating temperature.
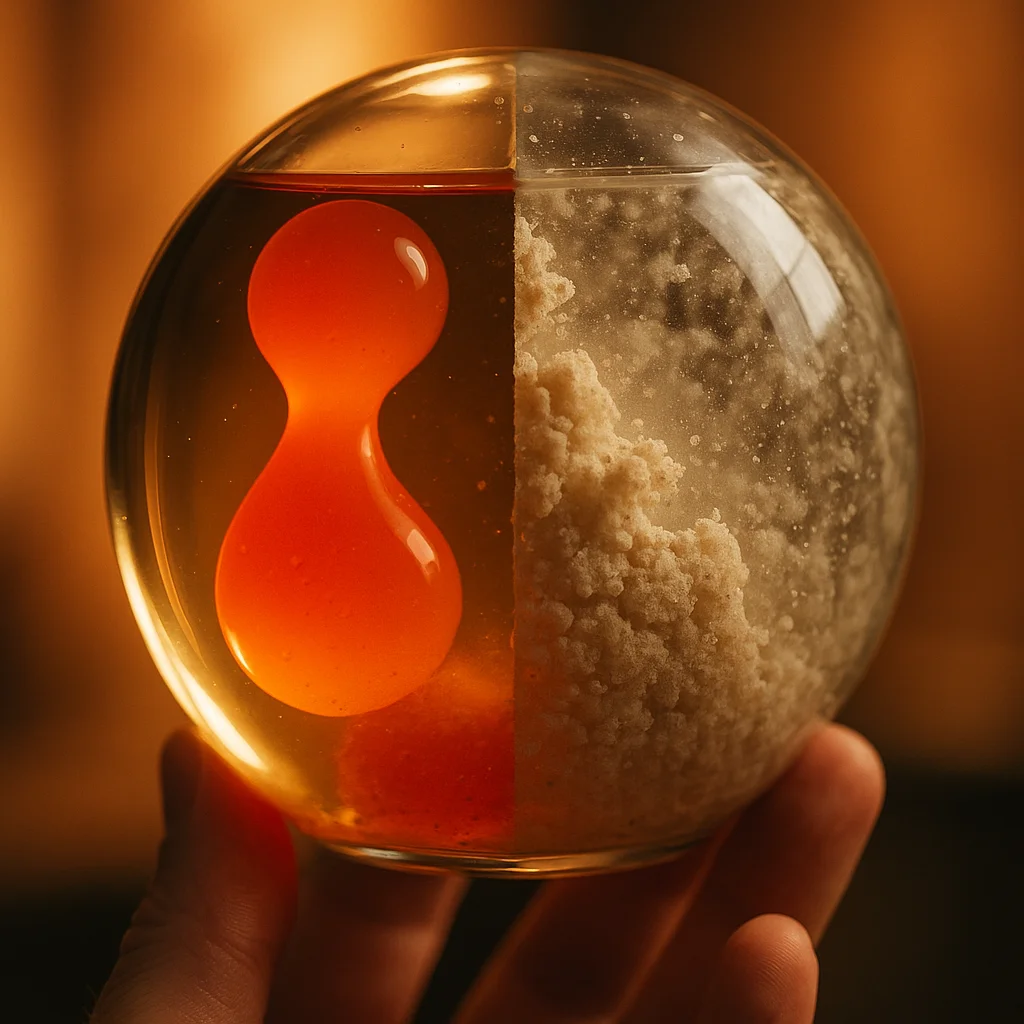
Remove the globe from the base. Hold it up to a light source. Healthy wax is smooth, semi-opaque when cold, and separates cleanly from the fluid. Degraded wax appears cloudy throughout, develops a granular texture, or clings to the glass in a film. Note the colour of both the wax and the surrounding fluid, as these interact chemically and a problem with one often indicates contamination from the other.
If you are unsure whether the wax or the fluid is responsible for poor lamp behaviour, consult the Diagnosing Common Lava Lamp Problems guide before proceeding.
Formulating a Replacement Wax Compound
The core of most documented replacement recipes is a blend of paraffin wax and microcrystalline wax. Paraffin provides the base and lowers the overall melting point. Microcrystalline wax increases density and affects the elasticity of the blobs at temperature.
A starting formulation documented from community experiments:
- Begin with a paraffin wax rated to melt between 52°C and 58°C (125°F–136°F). This range is consistent with Mathmos-era fluid chemistry as documented in hobbyist archives.
- Add microcrystalline wax at approximately 10–20% by weight of the total compound. A higher proportion increases blob density.
- Melt both waxes together in a double boiler — a heat-safe container set over simmering water. Do not apply direct flame.
- Stir slowly until fully combined. Do not introduce water into the melt.
- Pour into a shallow mould or onto a silicone mat. Allow to cool fully before handling.
Colour is added using oil-soluble dye only. Water-based dyes will not bind to the wax and will contaminate the fluid. Add dye to the melt before pouring.
Buoyancy is a function of both wax density and fluid density, so a compound that works correctly in one lamp may behave differently in another. Expect to adjust the microcrystalline proportion through iteration. The Lava Lamp Fluid Chemistry Reference provides the density values needed to calculate adjustments systematically.
Removing the Old Wax Compound
- Unseal the globe using the method described on the Resealing Lava Lamp Caps and Globes page. Do not force the cap.
- Pour the fluid out into a clean, sealed container. Label it. Set it aside for assessment — it may still be usable.
- Invert the globe over a heat-safe surface. The cold wax will not pour. Warm the globe gently in a bowl of hot (not boiling) water until the wax softens.
- Once softened, pour the wax out. Do not use tools to scrape the interior — this risks scratching the glass.
- Rinse the interior with distilled water twice. Do not use solvents, which can leave residue that interferes with the new fluid.
At this stage the globe is ready to receive the replacement compound.
Introducing the New Wax
Allow the replacement wax to cool fully in its mould. Cut or break it into pieces small enough to fit through the globe neck. Drop the pieces in gently — do not force them. Refill with prepared fluid as covered in the Restoring and Replacing Lava Lamp Fluid guide, then reseal the cap.
Wax replacement is one of the most iterative stages of any restoration. The Lava Lamp Restoration Checklist provides a full sequence reference to help track progress across all stages.